Leave those Leaves! 4 Ways to Use Leaves
This guide has tried and true methods of leaf removal for the home gardener. You will learn how to use collected leaves, as well as how these leaves can be beneficial for the local ecosystem. Use this guide to make your leaf removal process quick, easy, and simple.
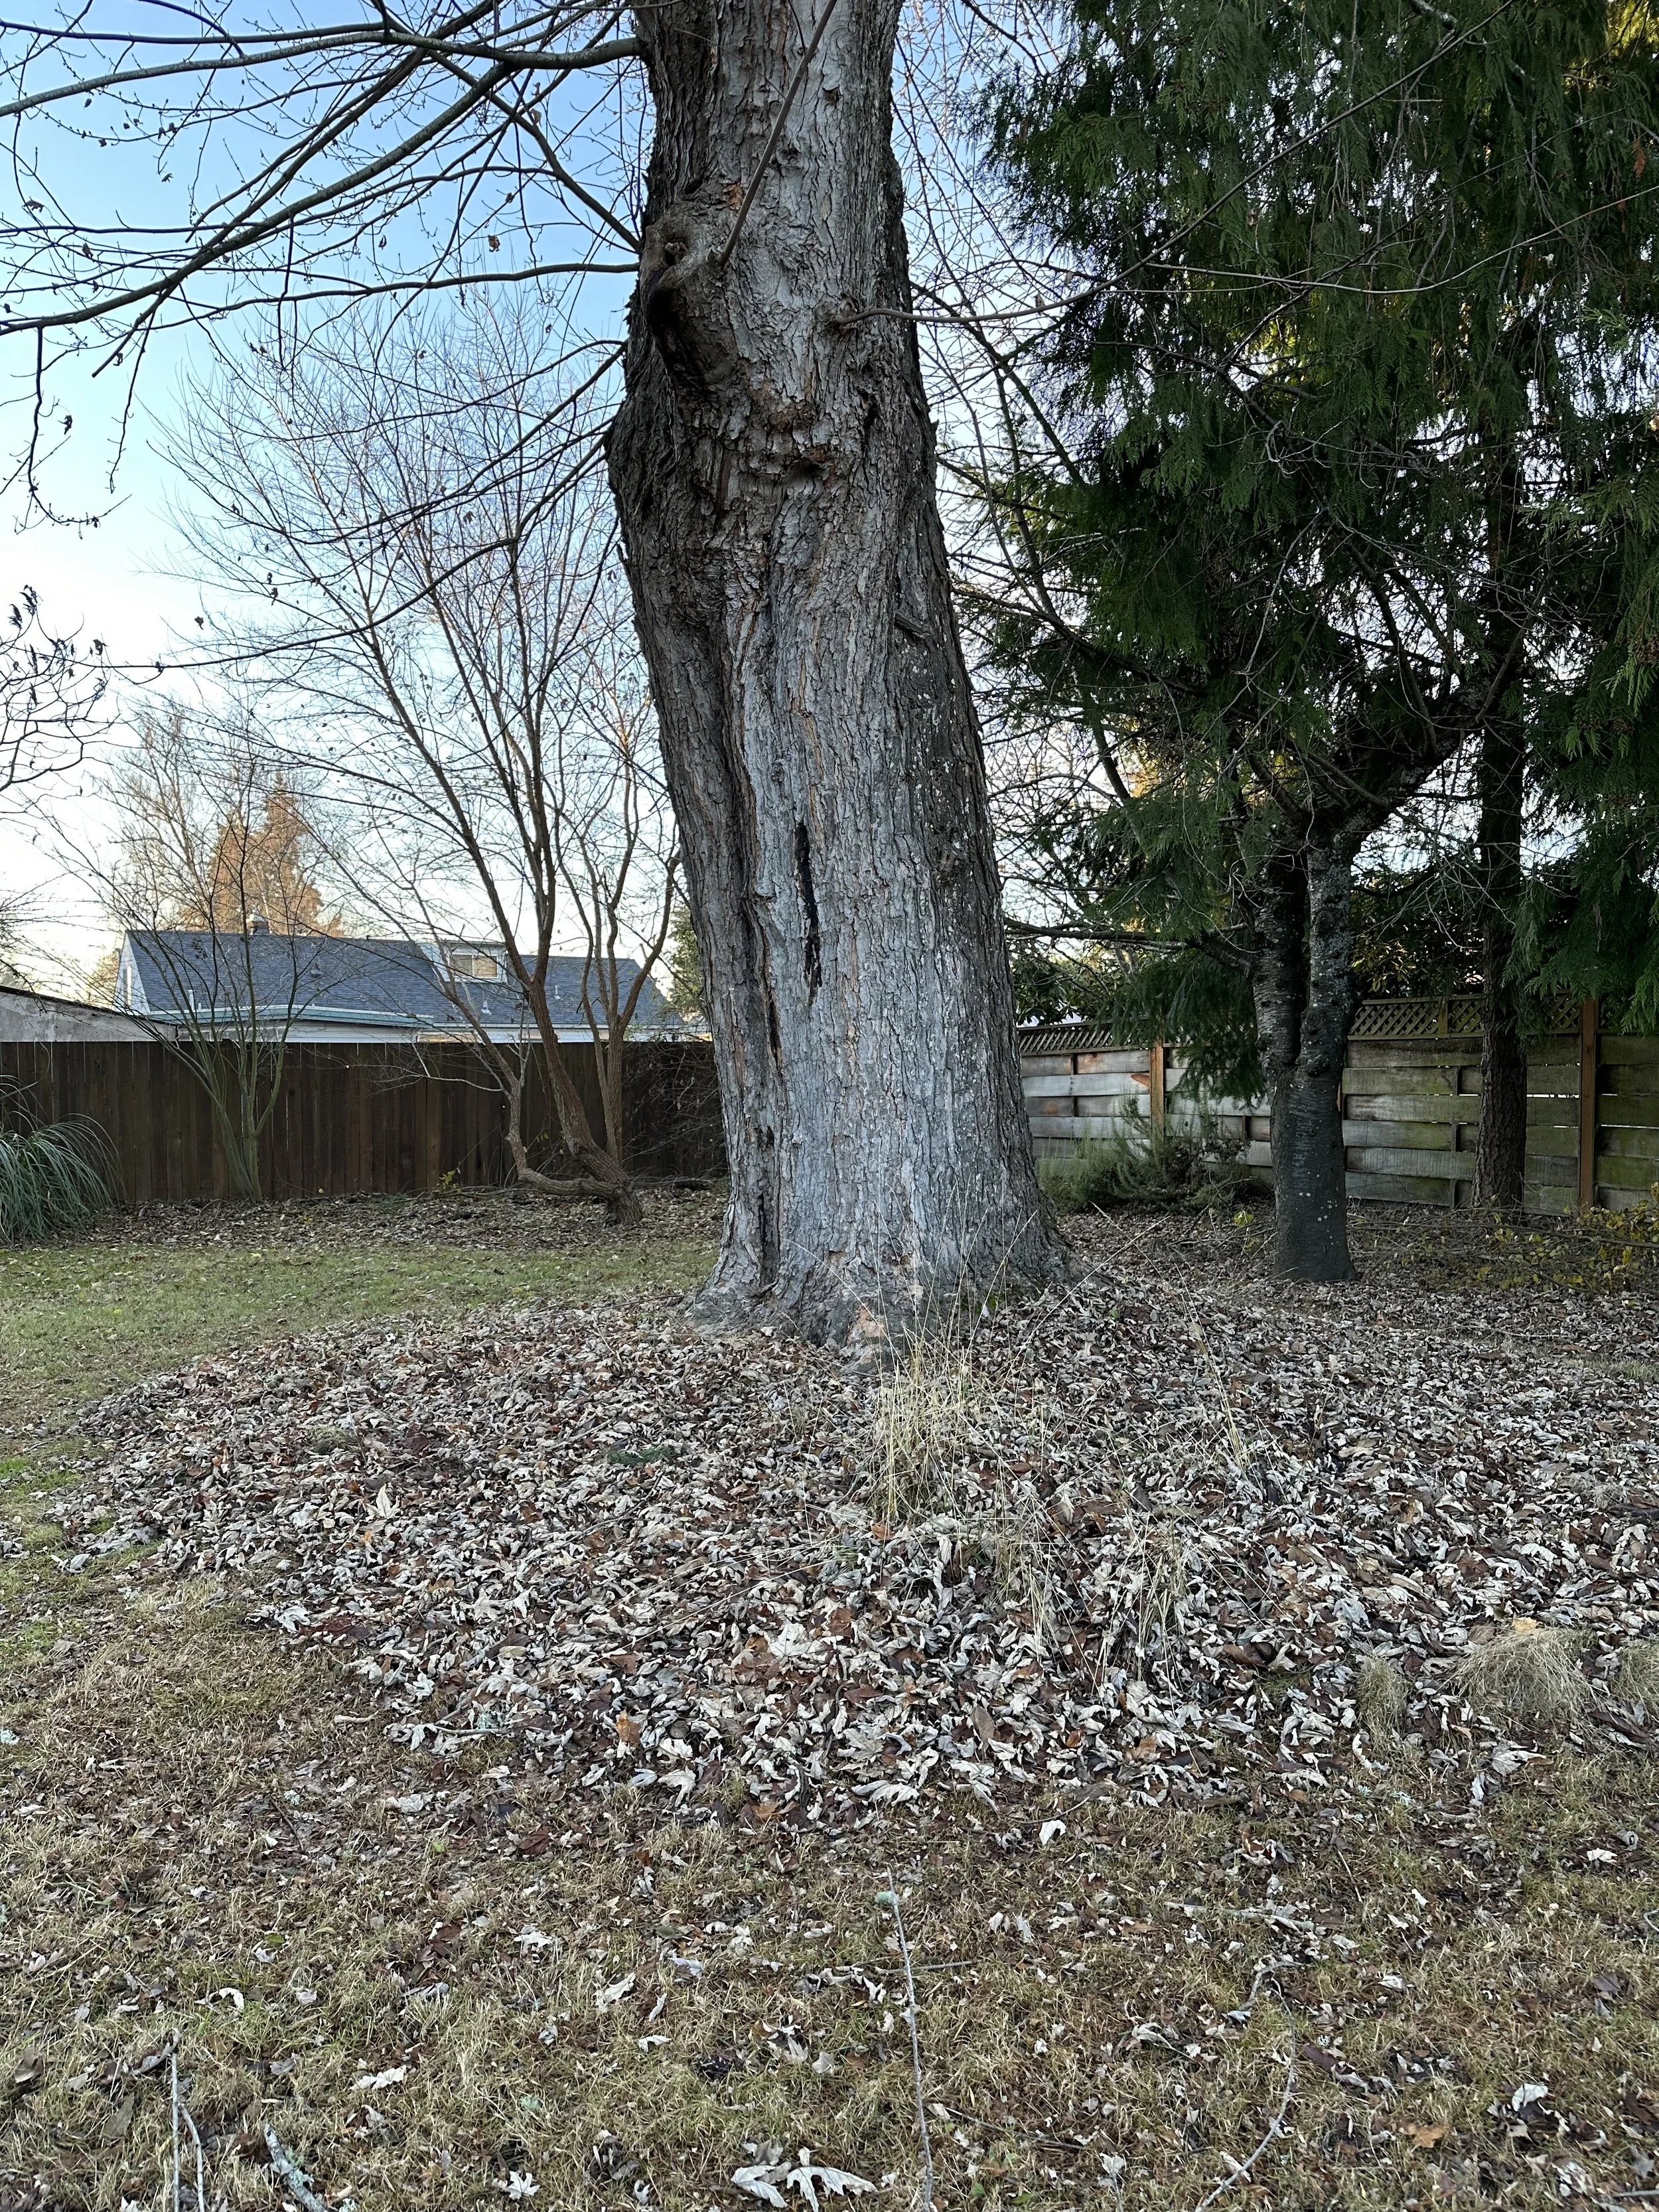
Are leaves piling up in your yard? Those leaves are nutritional powerhouses for the soil. Each leaf that falls contains many different organic nutrients like potassium, nitrogen, and phosphorus. Leaves also contain carbon, an inorganic compound in every living thing.
When a leaf falls on the soil, microbes and fungi begin to decompose the leaf. The microbes use nitrogen to consume the leaves and break them down into nutrients available for the soil. The broken-down leaves add carbon, water, and the organic nutrients mentioned above to the soil.
Where leaves decompose, soils are rich in organic matter and are perfect for growing trees, shrubs, and perennial plants. Where leaves are devoid, soils lack nutrients and are exposed to the elements. This means that cold and hot temperatures, drought, and extreme climate events have more lasting and impactful effects on the exposed soil. A garden bed protected by leaves is much more capable of handling climate stressors than an exposed one.
You may be thinking, How can I use the leaves in my yard? Below are four easy ways to use those leaves. Click on each button below to navigate to that method.
Methods
Leaf Mulch
Decaying leaves on top of a garden bed.
Benefits
Mulch is another word for a layer of organic material placed on top of the soil to keep it healthy. Mulching is by far the easiest and most beneficial method of leaf removal. It keeps the soil happy in a few different ways.
Leaf mulch insulates the ground in the winter, protecting the soil from extreme freezes. It also protects the soil in summer by keeping it cool during heat waves.
Because leaves are organic material, when they decompose they release nutrients into the soil over time. These nutrients are taken up by trees and shrubs so that they can form more leaves in the spring. The cycle continues!
Leaf mulch is the perfect growing environment for many different fungi and microbes. The microbes eat the leaves and feed the soil in the process. Soil with leaf mulch is much stronger, healthier, and happier than exposed soil.
Leaf mulch helps protect the soil, and it also helps the local wildlife in your area. Leaves provide a home for insects and bugs like ladybugs and bees during the winter. When spring arrives, these bugs wake from their protected winter slumber and fill the air. Without leaf mulch, there would be fewer resting places for these critters.
Because leaf mulch helps insects, it also helps vertebrate creatures. When insects are abundant, prey is abundant for local predators like birds, snakes, and lizards to eat.

How to Make Leaf Mulch
Gather leaves with your tool of choice (rake, lawn mower, or blower). Spread the fallen leaves over the soil in a thick layer. Over time the leaves will condense and shrink as they decompose, so you can add as many leaves as you’d like.
Just note that the more leaves you add, the longer they will take to decompose. More leaves mean more nitrogen needs to be added to the soil. Microbes that break down leaves require nitrogen to complete their decomposition process. The microbes will often take the nitrogen they need from the soil.
To be sure the microbes don’t take too much nitrogen from the soil, mix “green” material into the leaf mulch. By “green” I mean fresh grass clippings, plant clippings, and other green plant material. This will ensure that the microbes have the food they need to break down the leaves. Try to keep a balanced ratio of greens to leaves in your mulch for the best results. You'll always want more leaves than greens.
Cold Compost

A cold compost pile from November 2022.
Benefits
Compost is a nutrient-dense, organically rich mixture that consists of broken-down organic and inorganic materials. It is more energy intensive than leaf mulch, although it also has more benefits.
Plants can be grown directly in compost. You can also use compost as mulch. The compost can be spread over soil similarly to leaf mulch. Compost used as mulch will both fertilize and protect the topsoil.
Compost is incredibly nutrient-dense. Plants grown in compost are more resistant to pests, diseases, and extreme weather. Compost is also likely to harbor beneficial insects and bacteria as they are the primary facilitators of the compost-making process.
Cold compost is the easiest compost to make. Unlike hot compost, cold compost does not require regular turning. Because there is no regular turning and maintenance, cold compost decomposes a lot slower, usually taking about a year to complete. Make cold compost in the fall. You’ll have fresh compost ready the following fall.
How to Make Cold Compost
Cold compost requires three things. It needs fuel, water, and air. Provide your pile with these three things and it will reward you with rich, dark, crumbly compost.
Making compost takes advantage of microbes already present in the soil, just like leaf mulch. You can hasten the decomposition process by giving the microbes the fuel, water, and oxygen they need. A good compost pile should be a mix of “greens” and “browns.” It should be 30 parts brown to 1 part green.
Greens are nitrogen-rich plant materials that feed the compost microbes. These include lawn clippings, plant clipping, and kitchen scraps. Generally speaking, any green organic plant material can be considered green.
Browns are carbon-rich materials. They are the dried-out plant materials that used to be living, and they include fallen leaves. Some other browns are dried-out plant stalks, straws, and paper.
Ensure that there are 30 parts of brown material for every 1 part of green material, and mix your compost. Make a pile that is no taller than your waist. Large compost piles can be made, but they require more maintenance. Keep the piles below waist height for best results.
Water your pile so that it is like a wrung-out sponge. Let the rains keep it moist if it is autumn and raining in your area. It’s free water! When the weather warms up you might have to water the pile to keep it moist.
Turn your compost once every three months. This will give your compost air. Do this with a pitchfork for the best results. Stick the pitchfork in the pile and turn the inner layers to the outside. Turning aims to expose the inner parts of the pile to oxygen so that the microbes can breathe.
Autumn leaves are wide and flat. If piled together in big clumps they can prevent air from getting into the compost. Avoid this by mixing the pile well so the leaves are spread evenly.
You can also avoid this with a lawn mower. Use the lawn mower to chop up leaves before you place them in the compost pile. If you have a lawn with leaves on it, this is the best way to chop up the leaves. Mow your lawn per usual and dump the clippings onto your pile. Mix in well with the other compost ingredients.
After about a year of turning and keeping moist, the cold compost should be ready to use. You’ll know it’s ready when it has broken down into a loose, crumbly, and dark material.
Leaf Mold
Finished leaf mold harvested in February 2022.
Benefits
Leaf mold is just like compost, except it is made entirely of leaves. It has benefits like compost and can be used similarly.
Leaf mold is different from compost because of its chemical composition. Unlike compost, leaf mold contains low levels of nitrogen. It is made entirely of leaves, and dried-out leaves are low in nitrogen.
Leaf mold is no doubt an amazing addition to the garden. It is rich in carbon and incredibly beneficial for fungi and worms that live in the soil. Apply leaf mold as a mulch of about 2 inches thick. Let it sit; the soil fungi, worms, and microbes will incorporate the leaf mold into the soil.
How to Make Leaf Mold
Make leaf mold the same way you make cold compost. Pile up leaves until they’re no taller than your waist. Ensure that the pile is moist like a wrung-out sponge. Turn the pile once every three months, mixing the outer layers into the center.
After a year your leaf mold pile will be finished! Leaf mold is darker than finished compost. Finished leaf mold should crumble in your hand but stick together if balled up in your fist. It is like compost in that it is loose, rich, and crumbly.
Lawn Fertilizer
Benefits
If you have a mulch setting on your lawn mower you can use the leaves on the lawn as fertilizer! This simple method involves using the lawn mower to chop up the leaves. The small, chopped leaf pieces can then fall under the grass and reach the soil.
Once the leaf pieces reach the soil, soil microbes begin decomposing the leaves and releasing nutrients. The broken-down leaves benefit the soil, the grass, and any trees with roots in the lawn.
How to Make Lawn Fertilizer
Use your lawn mower’s mulch setting on the lawn on a dry day. I put a plug on my mower where the bag would go to initiate the mulch setting. Check your lawn mower’s manual to see if it has a mulch setting.
Mow your lawn like you usually would. The mulch setting chops the leaves and grass and pushes them down to the soil. This is an easy way to feed your lawn and remove leaves piling up.
How the lawn should look after mowing it with the mulch setting.
Conclusion
The old practice of bagging leaves in black plastic bags and throwing them away is out. Leaving the leaves is in!
When you leave the leaves you actively help the environment maintain itself. You give local wildlife a more abundant food source by providing bugs with leaves for the winter. You enable soil fungi to grow. You also feed the trees and shrubs that have their roots in the soil.
When you leave the leaves you become a steward of nature. So leave the leaves!
Do you still have leaf questions? Let me know in the comments down below. Thank you, and happy growing!
All photos and videos were taken by Jerad Bryant.
Sources
Smith, E. C. (2011). The vegetable gardener’s bible. David & Charles. pg. 144